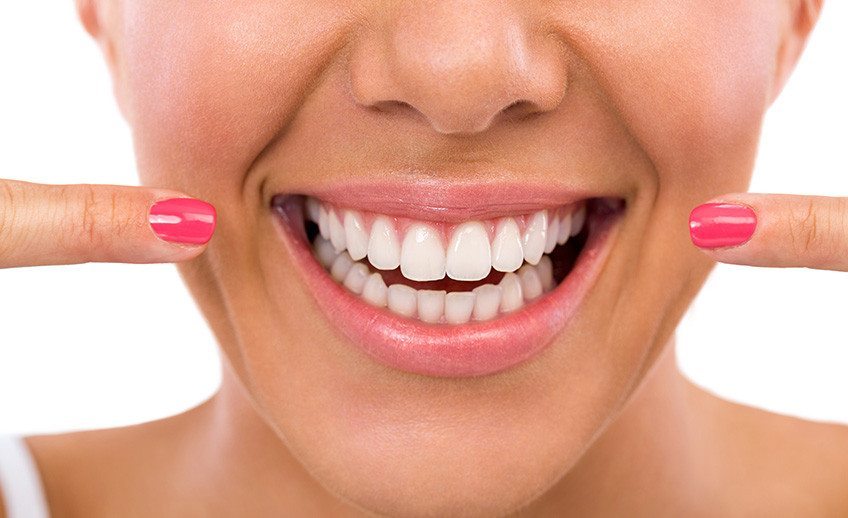
Now that you’ve made the decision to get a dental implant after considering the costs, you may be experiencing a little apprehension wondering what comes next, if it will hurt, and how long it will take to recover. Relax. It’s easier than you think.
While a dental implant is by no means a simple procedure, just knowing what to expect will make all the difference.
The main steps of a dental implant:
- X-rays
Your dentist in Fresno CA, needs x-rays for evaluative and prognostic purposes. X-rays, panoramic X-rays, or a 3D CT scan will be used to determine bone and gum condition and to identify anything warnings. Click here for an in-depth look at the different types of dental x-rays.
- Impressions
Your dentist in Fresno CA will need to take an impression of your mouth, which will provide a pretty good replica of your teeth, gums, and surrounding tissues from which to work with. He or she will determine the right size plastic or metal impression tray for your mouth and fill it with a soft liquid, such as alginate or polyvinyl siloxane. You will bite down on the U-shaped plastic or metal impression tray. The liquid will set after a minute or two and become a solid rubber mass. You will then open your mouth and the tray will be removed and sent to a lab for processing. Keep in mind…
While most people have absolutely no problem, the impression process can be unpleasant for those who have an active gag reflex or experience panic over not being able to open their mouth or swallow properly. Simple as it sounds, the best advice I can give is this: don’t think about it and don’t be afraid to share your concerns with your dentist in Fresno CA.
There are techniques to keep you from gagging or panicking. Breathe deeply through your nose and try to distract yourself. If there’s a TV in the room, focus on that. If there’s music playing, listen to the beat. Count. Play a game of golf in your head. Dream of the beach. Your dentist in Fresno should also try to keep you sidetracked by talking to you, asking you questions (that you can’t answer because your mouth is full of gunk!), and assuring you that it’s “almost over.” Because it is. An impression doesn’t take as long as you imagine and, like many other dental procedures, your mind is your own worst enemy.Remember too, that your dentist is on your side. If you feel the need for nitrous oxide, just ask!
- Tooth Extraction
If the tooth in question still exists, it will need to be extracted. This can be done at the same time as the implant insertion. Your dentist will explain what type of anesthesia he or she plans to use but, generally speaking, a local injection of lidocaine (what most patients still refer to as novocaine), will assure a pain-free procedure. It doesn’t take long to pull a tooth, but if it is fractured, your dentist will be more cautious to avoid fragmentation. You will feel a little pressure and tugging as your dentist wiggles the tooth out.
For a minimum of 24 hours after the extraction, you will be asked not to smoke, drink through a straw, spit excessively, or blow your nose. Doing so can cause a dry socket and unnecessary pain.
- Implant
After the tooth is extracted, your dentist will drill a hole in your jawbone. This will feel similar to having a cavity drilled. In some cases, your dentist may have to make an incision in your gum to expose the bone, in which case suturing (stitches) will be necessary. The dentist will insert the implant deep into your jawbone. This serves as an artificial root for your new tooth.
Depending on the condition of your jawbone, a bone graft may be necessary. Usually this can be done with artificial bone materials and is such a minor part of the implant process that you won’t even know it’s happening.
Expect to be at this appointment for one to two hours. You’ll be fine to drive home and go about your daily routine following the procedure. However, you will most likely be restricted to a soft-food diet for up to a week.
- Abutment Placement
As your jawbone heals, it will fuse with the dental implant. This process can take several weeks or even months. There is no way of knowing in advance how long it will take and differs in every patient. Once your dentist has determined your implant is stable enough, an abutment is placed on top of it to serve as a connector to the crown. The abutment is tightened with a dental torque wrench so that it remains in place during chewing. Don’t worry – local anesthesia will keep you from feeling anything but a little bit of pressure!
In some instances, the abutment can be placed at the same time as the implant. However, because the abutment extends beyond the gum line, it will be visible, so make sure you discuss this option with your dentist beforehand! In other cases, a healing cap or healing abutment is used to keep tissue or bone from growing over the implant as osseointegration (the fusing of the bone and implant) takes place.
- Permanent Crown
Your permanent crown is attached to the abutment and voila! You’re done!